
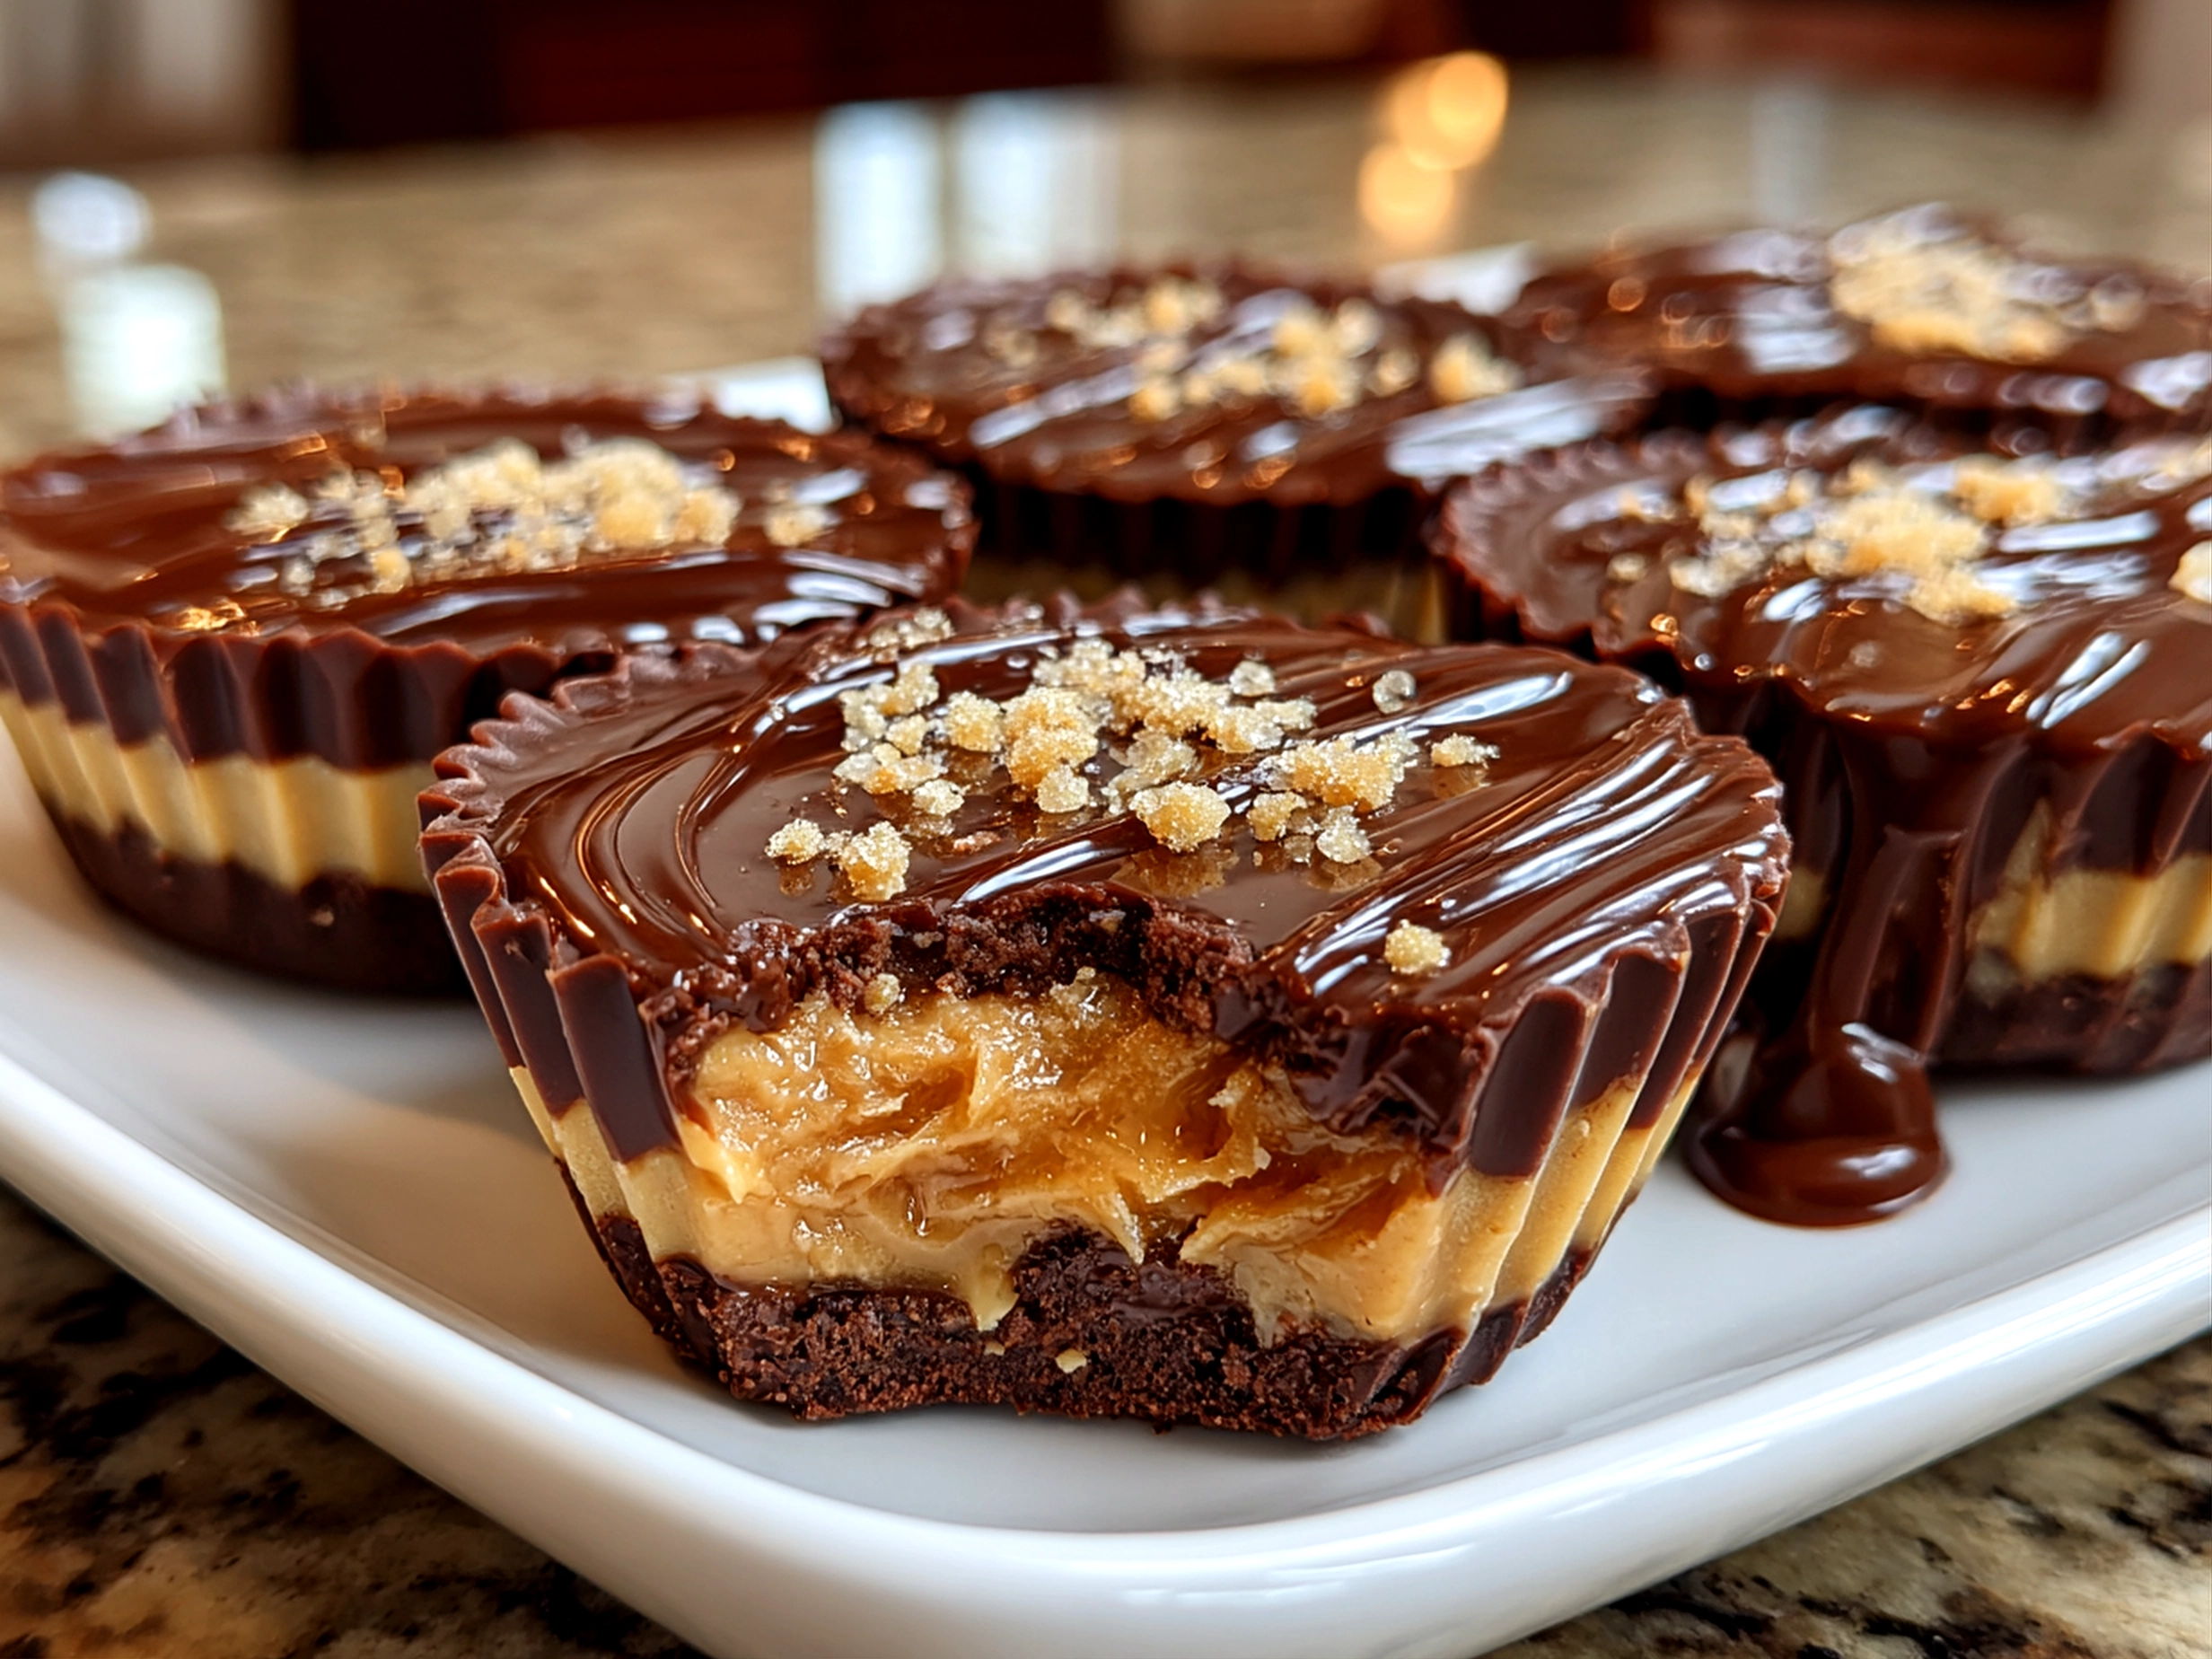
I remember the exact moment I discovered my love for Reeses Peanut Butter Cups. It was during a late-night snack run in college. I grabbed a few of these chocolate peanut butter candy cups without thinking much about them, but once I took that first bite, I was hooked. The perfect combination of creamy peanut butter and smooth milk chocolate was pure magic. From that night on, these cups became my go-to Reese’s snack whenever I needed something indulgent but simple. I knew I had to bring that joy into my own kitchen, and after countless tweaks, making homemade Reeses Peanut Butter Cups became one of my proudest kitchen wins.
This recipe fits right into my foodie life because it’s all about joy without fuss. Whether I’m craving that nostalgic peanut butter chocolate treat or looking to impress with a quick homemade candy, these Reeses Peanut Butter Cups never disappoint. They strike the perfect balance between simple ingredients and a flavor that feels like a little celebration with every bite. The creamy peanut butter filling blends so well with the milk chocolate coating that it’s like a mini escape stored right in your fridge.
Ready to dive in? I’m so excited to share this recipe with you, fellow foodies! Whether you call them holiday Reese’s cups or just your favorite everyday treat, these cups are bound to become a new staple in your rotation. Let’s make some peanut butter chocolate magic happen!
What You’ll Need:
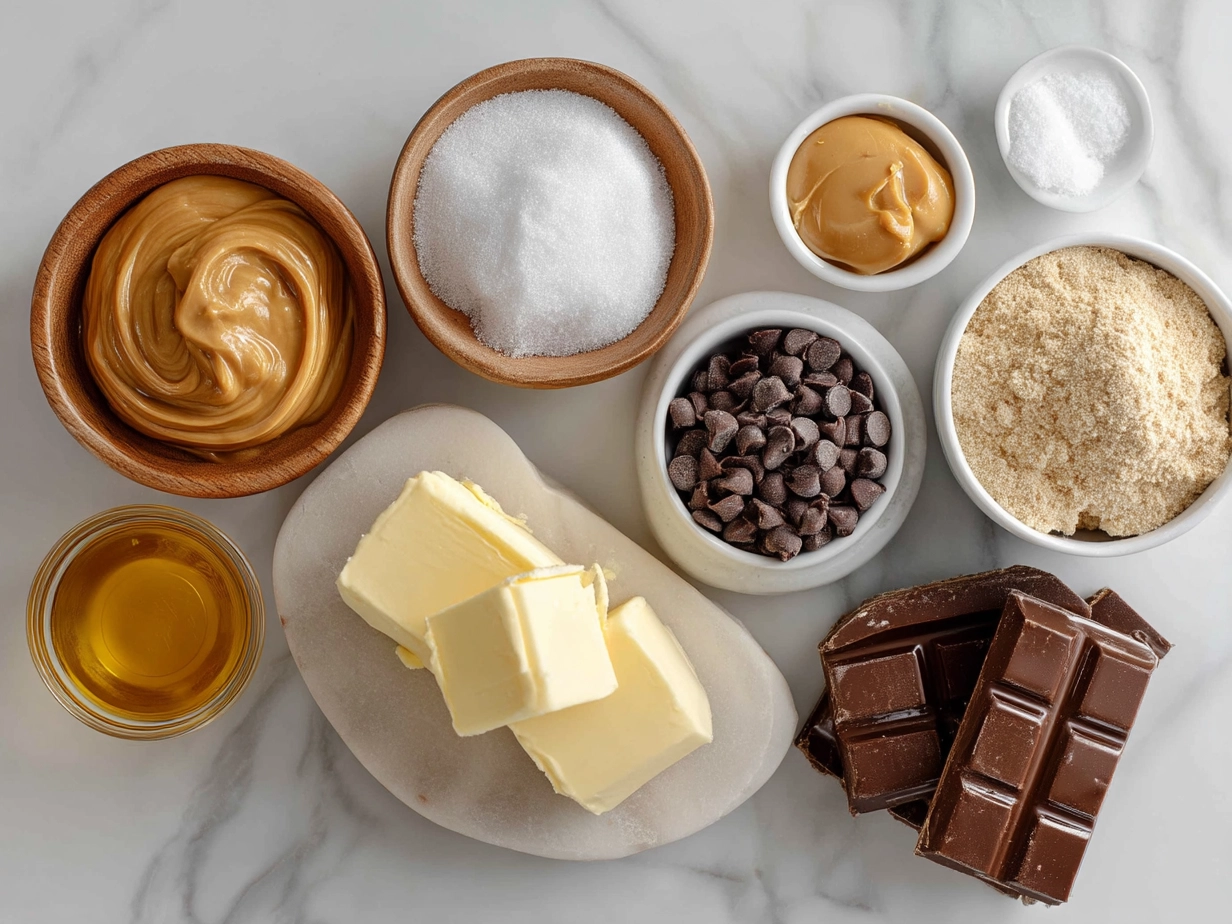
This Reeses Peanut Butter Cups recipe keeps the ingredient list totally approachable—because good food shouldn’t be complicated. Here’s what you’ll want to grab:
- 1 cup creamy peanut butter (smooth, unsalted is best)
- 2 cups milk chocolate chips (or chopped milk chocolate)
- 1 cup powdered sugar (keeps the filling just right)
- 1/4 cup unsalted butter, softened
- 1 teaspoon vanilla extract
Out of powdered sugar? No problem, you can use finely ground granulated sugar as an easy swap in this Reeses Peanut Butter Cups recipe. Also, if you want to play with a little saltiness, adding a pinch of flaky sea salt on top before the chocolate hardens is a tasty twist I always sneak in.
You can grab these Reese’s ingredients at any regular grocery store—milk chocolate chips near baking supplies, peanut butter down the aisle, and powdered sugar wherever the baking stuff hangs out. This homemade Reeses Peanut Butter Cups is kind to your wallet because it uses items that you probably have on hand or that won’t break the bank.
Quick prep tip: soften your butter at room temperature beforehand for smoother mixing, and when you’re done, store leftovers in an airtight container in the fridge. These cups hold up wonderfully for up to a week (if they last that long!). My personal twist? I sometimes swap out half the milk chocolate for dark chocolate chips to add a bit of depth.
Let’s Cook This Together:
Ready to whip up some magic? Here’s how we make those famous Reeses Peanut Butter Cups from scratch:
- Line a muffin tin with paper liners. This sets your cups up perfectly, so they don’t stick and you get those classic shapes.
- Melt 1 1/2 cups of the milk chocolate chips in a microwave-safe bowl, heating in 30-second bursts, stirring in between. This step gets your kitchen smelling like heaven, and be patient here—it takes a few minutes but is worth it.
- Spoon about a tablespoon of melted chocolate into each liner and spread it evenly to cover the bottom. Pop this into the fridge to set while you prepare the peanut butter filling.
- Mix your peanut butter, softened butter, powdered sugar, and vanilla extract in a bowl until smooth and creamy. If it feels too thick, a splash of milk will loosen it just enough. This filling is the heart of your peanut butter chocolate treat.
- Scoop about a tablespoon of peanut butter filling on top of the set chocolate bases. Press lightly, but don’t squish it out the sides—this step takes a gentle hand!
- Melt the remaining 1/2 cup chocolate chips and drizzle over the peanut butter layer, making sure to cover it fully. This seals in the magic for those perfect holiday Reese’s cups.
- Refrigerate again for at least 30 minutes until the chocolate is firm. Don’t rush this part—the chill time helps everything lock in beautifully.
If your Reeses Peanut Butter Cups look a little uneven or if the chocolate isn’t perfectly smooth, that’s totally fine. Homemade charm is part of the appeal! And hey, no judgment if you sneak a little extra chocolate or peanut butter here and there while cooking.
Start to finish, this recipe comes together in about an hour, but most of that is just waiting on the fridge. While that’s happening, you can start cleaning up the kitchen or pour yourself something to drink and relax—I promise your taste buds will thank you later.
How to Serve & Savor It:
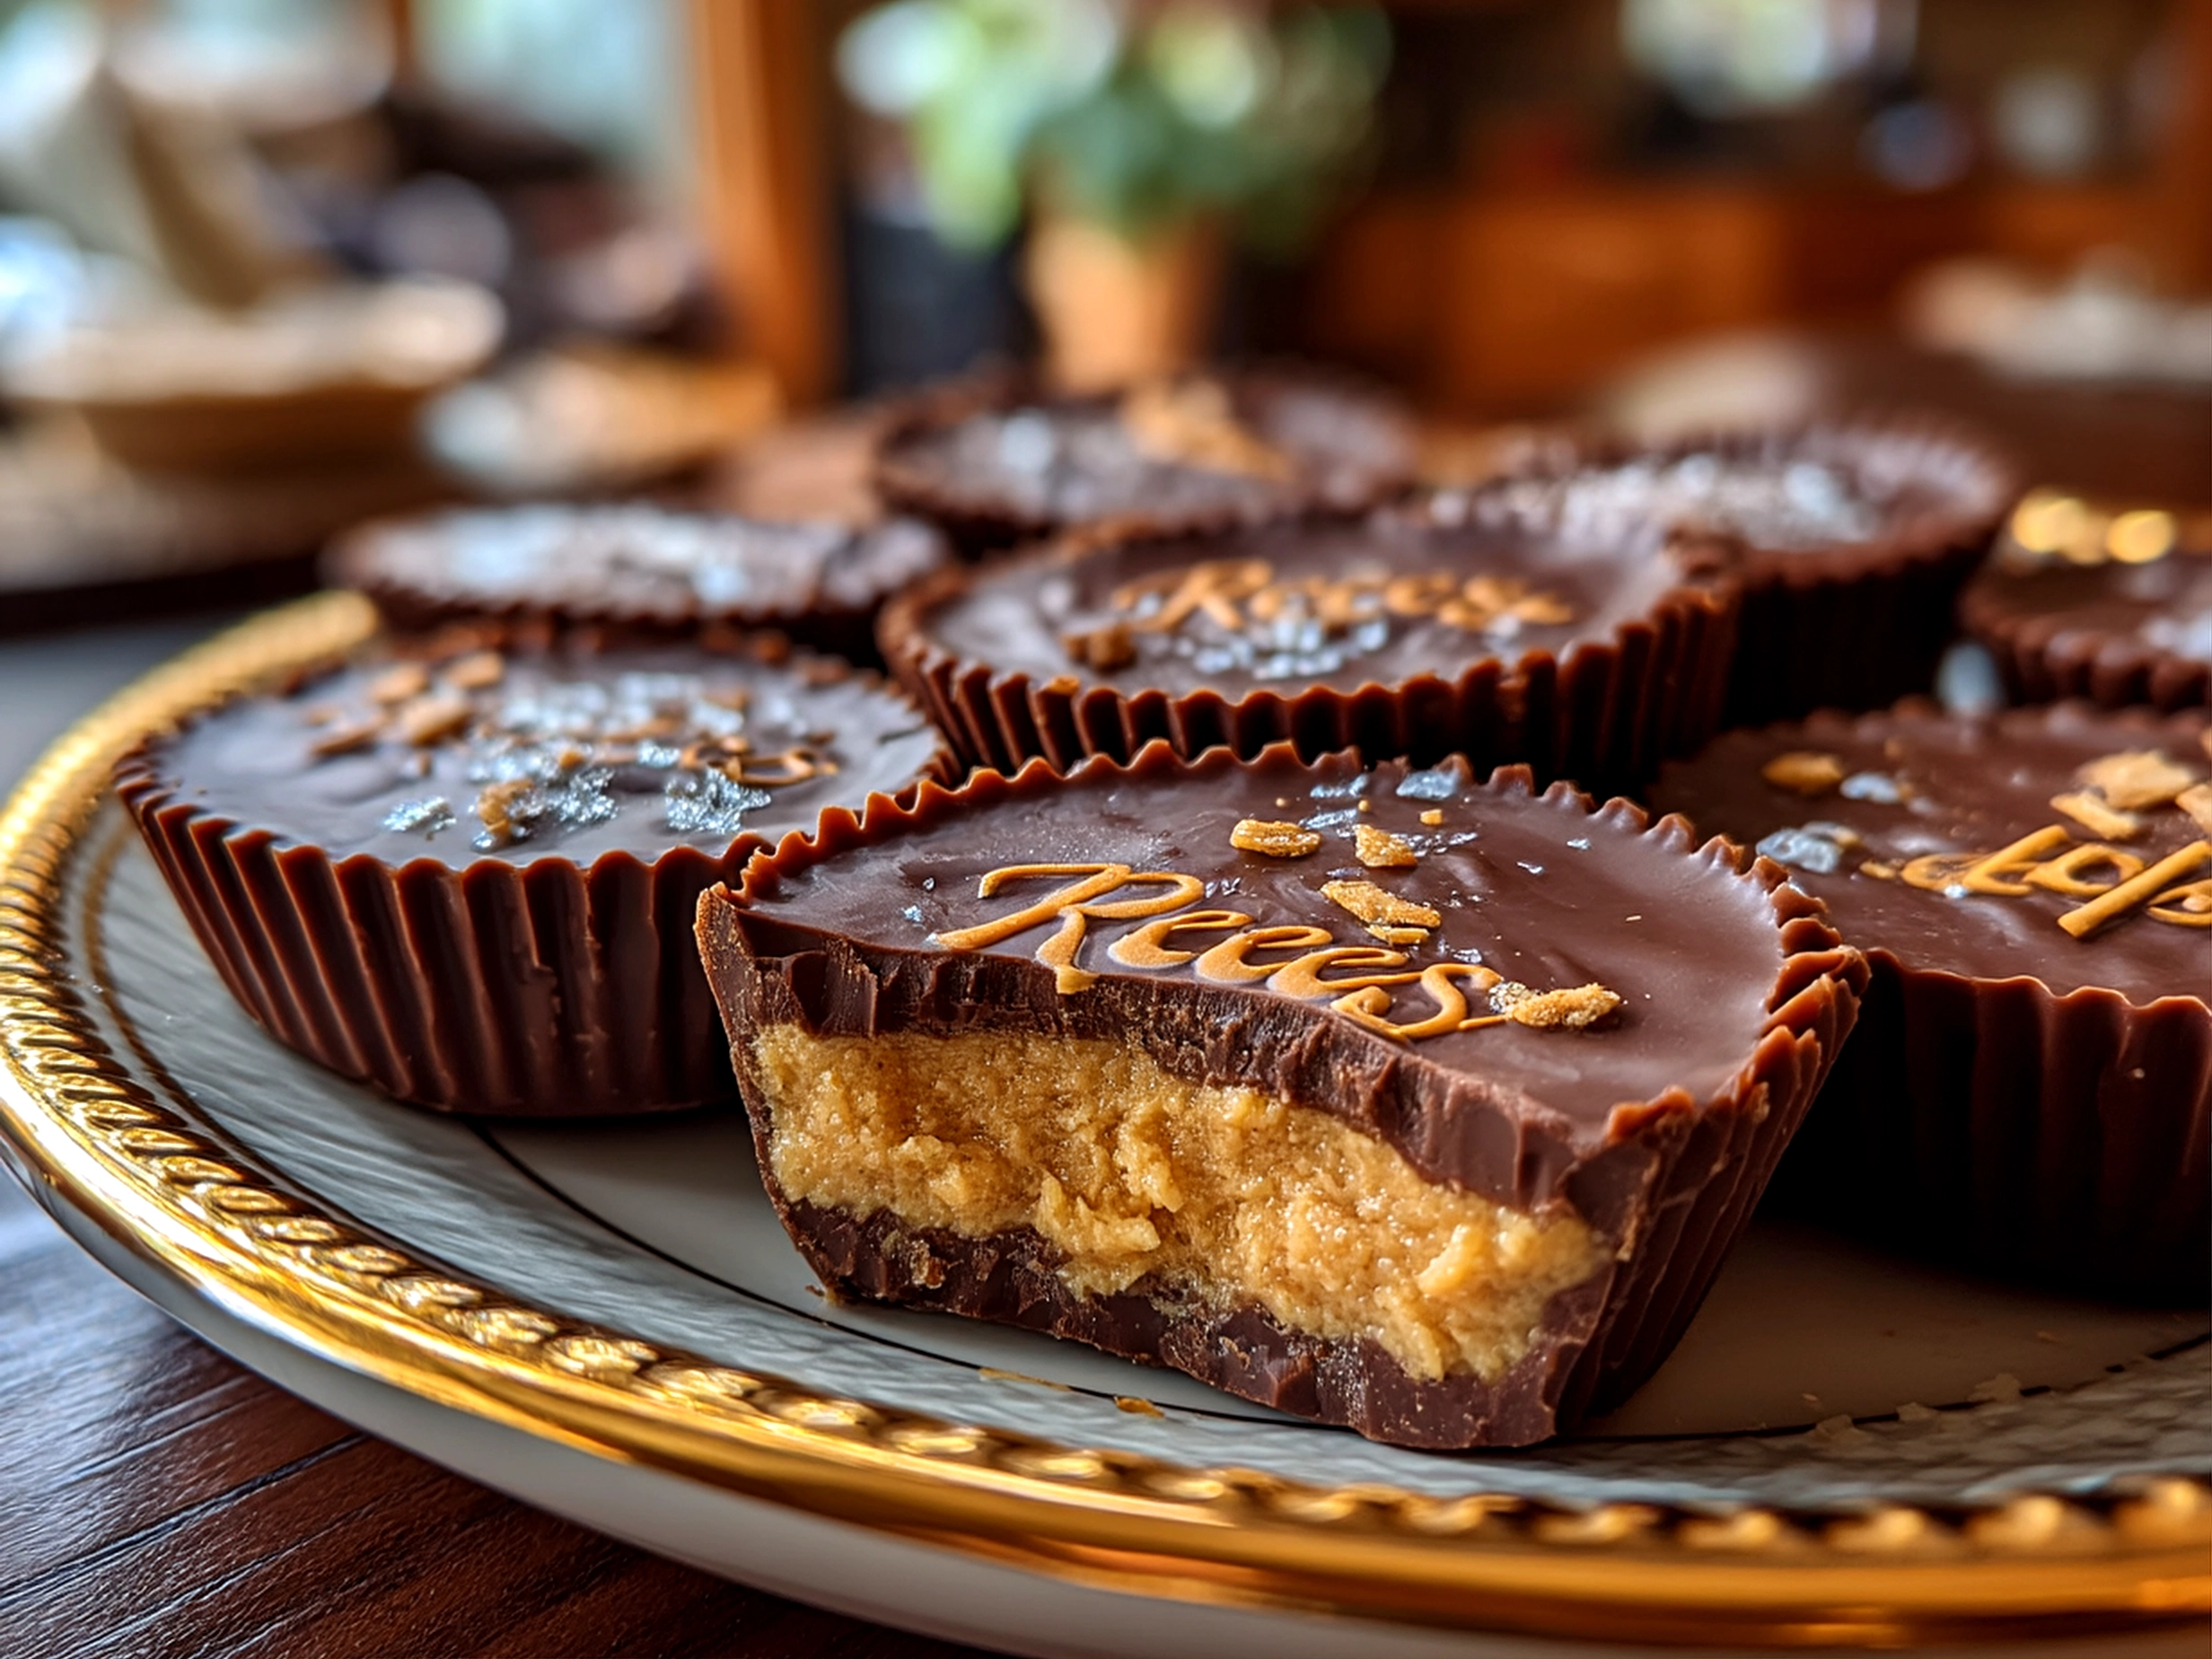
This Reeses Peanut Butter Cups is seriously a joy to serve. Whether you’re bringing them to a party or sneaking a few for yourself, these little peanut butter chocolate treats hit the spot every time.
I love serving mine alongside a big glass of cold milk or a hot cup of coffee—the chocolate and peanut butter really shine with these simple pairings. And if you want a quick festive touch, sprinkle a few holiday Reese’s cups or Reese’s Holiday Lights Peanut Butter Creme Milk Chocolate Same candies on a dessert spread, adding color and extra indulgence.
Ideal moments for sharing these cups include holiday gatherings, game nights, or anytime your sweet tooth calls. Presentation-wise, arrange them on a pretty plate or in a shallow dish with some parchment paper, then garnish with crushed peanuts or a drizzle of extra melted chocolate for that wow factor.
Got leftovers? No problem—I love chopping any extras and mixing them into vanilla ice cream for an easy make-over. You can also chop and fold some into peanut butter cookie bites for a delicious twist, making your treats stretch even further.
These Reeses Peanut Butter Cups have been an absolute hit with my friends and family—it’s always the first thing to disappear on dessert trays.
Your Questions, Answered:
- Can I prep parts of this Reeses Peanut Butter Cups ahead?
Absolutely! You can make the peanut butter filling a day before and keep it covered in the fridge. Then just melt and layer your chocolate the next day—super handy for busier schedules. - What’s a good swap for milk chocolate in this peanut butter chocolate treat?
Dark chocolate works beautifully here. It adds a richer flavor and balances the sweetness. White chocolate is another fun option, especially if you want a sweeter holiday Reese’s cups version. - How can I make this Reeses Peanut Butter Cups for more or fewer people?
This recipe scales easily. Double the ingredients for a crowd, or halve them when you want a smaller batch. Just adjust your muffin tin count accordingly! - Can I use crunchy peanut butter instead?
Definitely! Crunchy peanut butter adds a fun texture, although the classic creamy version gives that traditional smooth filling we all love in Reese’s snack forms. - Do I have to use powdered sugar?
Powdered sugar keeps the filling silky and holds it together nicely. You can experiment with honey or maple syrup but expect a softer filling. - Any tips for getting the chocolate to set perfectly?
Cool your bowls and utensils slightly before use, and always chill your layered cups in the fridge rather than at room temp for best results. - What’s the best way to store homemade Reeses Peanut Butter Cups?
Keep them airtight in the fridge. They last about a week, but honestly, mine never last that long!
Check out similar peanut butter joy with my old-fashioned peanut butter pie, peanut butter pie, or peanut butter cookie bites recipes for more peanut butter inspiration. And if you’re curious about different Reese’s treats, you might enjoy looking at the REESE’S Milk Chocolate Peanut Butter Egg, 1.2 oz or the REESE’S Milk Chocolate Peanut Butter Snack Size Trees, 9.6 oz bag for some festive fun.
Final Foodie Thoughts:
This Reeses Peanut Butter Cups recipe holds a special place in my foodie heart because it brings together two beloved flavors in a simple, joyful way. The balance of creamy peanut butter and smooth milk chocolate is exactly why I go back to this recipe time and time again, whether it’s a quick treat or a special holiday gift.
My top Reeses Peanut Butter Cups tips:
- Be patient melting your chocolate—it really makes the difference in texture.
- Use a good-quality creamy peanut butter for the best filling.
- Don’t skip chilling between layers; it keeps everything nice and neat.
For tasty variations, I love mixing in a bit of dark chocolate, sprinkling sea salt on top, or even blending in a touch of cinnamon for a subtle twist. The classic version remains the crowd favorite, but the salted caramel peanut butter chocolate treat takes second place in my home.
I hope you make this recipe your own and that it brings you as much joy as it brings me. There’s something so satisfying about making these Reeses Peanut Butter Cups from scratch and sharing them with your favorite people. Happy cooking, friends!
Reeses Peanut Butter Cups

Delight in these homemade Reeses Peanut Butter Cups featuring rich chocolate and creamy peanut butter in every bite, perfect for satisfying your sweet cravings.
- Prep Time: 15 minutes
- Cook Time: 10 minutes
- Total Time: 40 minutes
- Yield: 24 servings
- Category: Dessert
- Method: No-Cook
- Cuisine: American
Ingredients
- 1 cup creamy peanut butter
- 1/4 cup unsalted butter, melted
- 1/4 cup powdered sugar
- 2 cups semisweet chocolate chips
- 2 tablespoons coconut oil
Instructions
- Line a mini muffin tin with paper liners.
- In a microwave-safe bowl, combine chocolate chips and coconut oil. Microwave in 30-second intervals, stirring until smooth.
- Drop about 1 teaspoon of melted chocolate into each muffin liner, spreading it slightly to cover the bottom. Freeze for 10 minutes.
- In a separate bowl, mix peanut butter, melted butter, and powdered sugar until smooth.
- Place about 1 teaspoon of peanut butter mixture on top of the hardened chocolate layer, then gently press down to spread evenly.
- Cover peanut butter with another teaspoon of melted chocolate, smoothing the top.
- Freeze the cups for at least 30 minutes or until firm.
- Store in an airtight container in the refrigerator and enjoy chilled.
Notes
For a crunchier texture, add chopped roasted peanuts to the peanut butter mixture before assembling.