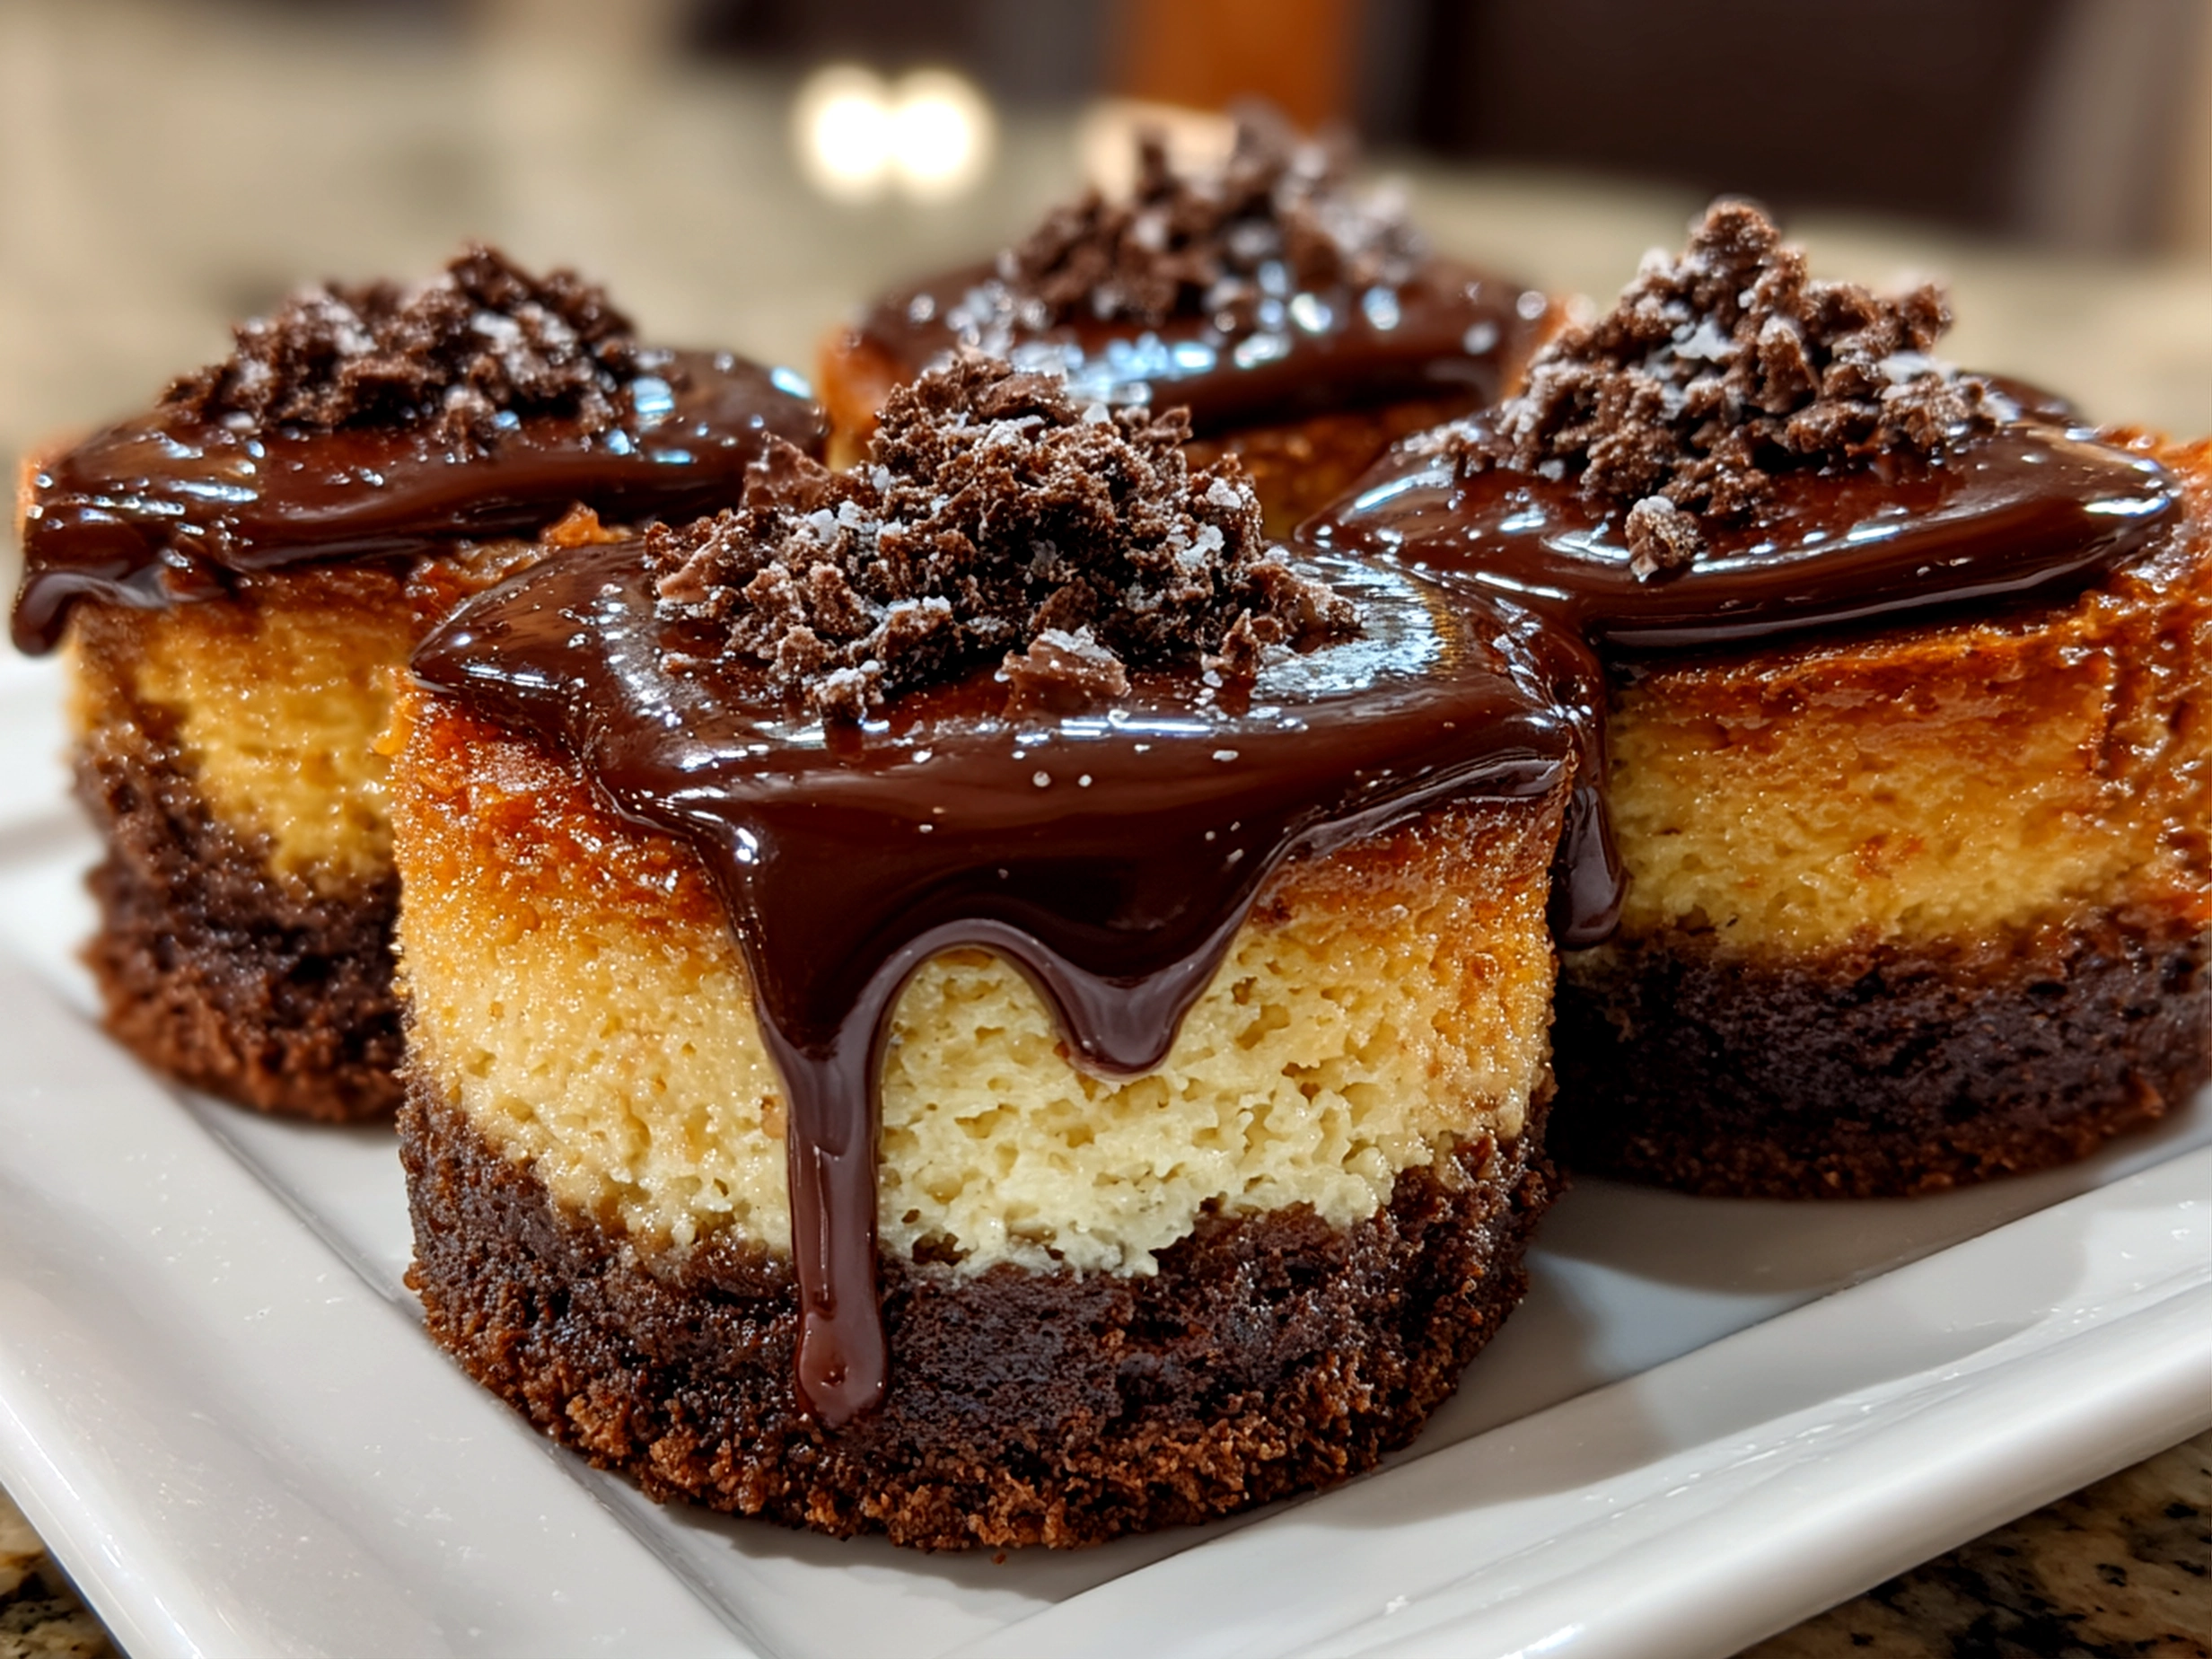
Oh man, the first time I made Chocolate Gnome Cheesecakes, it was one of those “wow, I need to make this again and again” moments. I stumbled across a festive recipe online and, honestly, the idea of mini chocolate cheesecakes shaped like little gnomes had me all in. There’s something just plain joyful about these chocolate dessert gnomes—they’re playful, rich, and perfect for sharing at any celebration, or just when you want a fun treat.
What You’ll Need:
Here’s the scoop on ingredients for these Chocolate Gnome Cheesecakes. I love that this recipe keeps it simple—because good food doesn’t have to be complicated or expensive.
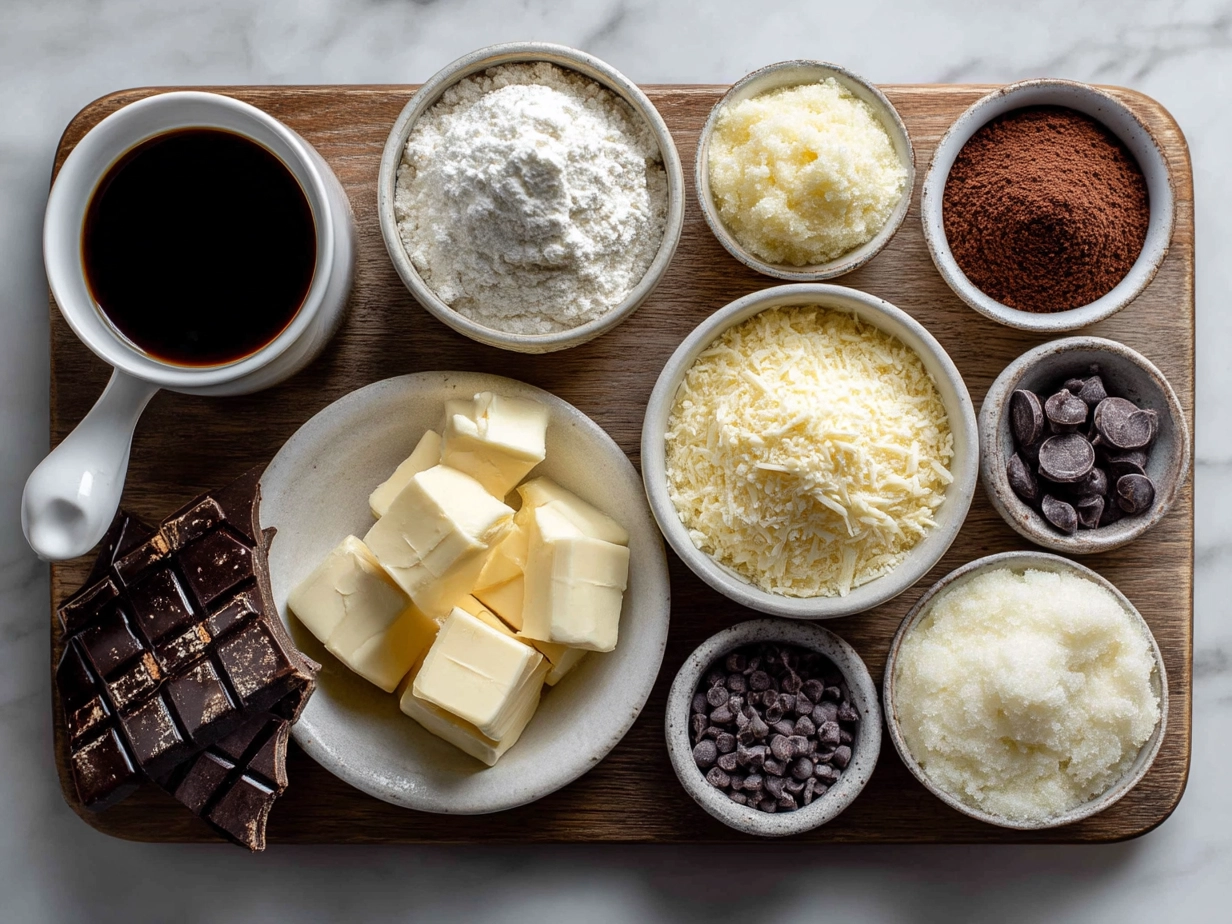
- 8 ounces cream cheese, softened – This makes the cheesecake base creamy and dreamy. Out of cream cheese? Neufchatel is a good easy swap that’s a bit lighter.
- 1/2 cup granulated sugar – Just enough sweetness to balance the chocolate without being overpowering.
- 1 cup semi-sweet chocolate chips – Melt these babies for rich chocolate flavor. You can grab quality chocolate chips at any regular grocery store.
- 1 large egg – Binds everything together and keeps it all silky.
- 1 teaspoon vanilla extract – I always add a little extra vanilla here to make flavors pop.
- 1/2 cup sour cream – Adds that tangy richness that really takes mini chocolate cheesecakes up a notch. Greek yogurt works well if you don’t have sour cream on hand.
- Mini gnome silicone molds or adjustable muffin pan – These help you nail the charming gnome shape. If you don’t have a mold, just use mini cheesecake liners for a fun twist.
- Chocolate wafer cookies or Oreos, crushed – For the crust; you can swap graham crackers in a pinch.
This Chocolate Gnome Cheesecakes recipe is kind to your wallet because it uses common pantry staples and doesn’t require any specialty items. For leftovers, pop these mini delights in an airtight container in the fridge for up to a week. And if they last that long, that is—a true testament to how tasty they are!
Fun kitchen nugget: I like to toast the cookie crumbs lightly before packing them into the gnome base. It adds a subtle toasty flavor that’s just chef’s kiss.
Together, these ingredients turn into delightful chocolate dessert gnomes that bring a smile and a feeling of joy with every bite. For more everyday foodie inspiration on chocolate treats, check out my easy Chocolate Date Bark or these melt-in-your-mouth Chocolate Mint Crinkles.
Let’s Cook This Together:
Alright friends, here’s how we bring these Chocolate Gnome Cheesecakes to life—step-by-step, side-by-side, with flavor and fun front and center.
- Preheat your oven to 325°F (160°C). While you’re preheating, prepare your mini gnome molds or muffin pan by lightly greasing with butter or nonstick spray. This helps your chocolate dessert gnomes pop out easily later.
- Crush your cookie base. Put the chocolate wafer cookies or Oreos (about 1 cup) in a plastic bag and crush ‘em up with a rolling pin or your hands until fine crumbs. Toast these crumbs lightly in a dry pan for 2-3 minutes to bring out an extra layer of flavor.
- Press the cookie crumbs into your molds or mini muffin cups, creating a compact crust. I like to press a bit extra around the edges to support that perfect gnome silhouette.
- Melt the chocolate chips gently in a microwave or over a double boiler, stirring often so the chocolate doesn’t burn. This is where the magic starts—your kitchen will smell incredible!
- Beat the cream cheese and sugar together in a bowl until smooth and fluffy. This took me a few tries to get just right—patience makes for a creamy, dreamy base for your mini chocolate cheesecakes.
- Add in the egg, vanilla extract, and sour cream, mixing until fully combined. This mix will be silky and a bit thick.
- Slowly add the melted chocolate into the cheesecake mix, folding gently until it’s just blended. Your batter should be luscious and glossy.
- Fill the cookie crusts with cheesecake batter about 3/4 full. I find spooning the batter into a piping bag or zip-top bag with the tip cut off makes this tidy and quick.
- Bake for 18-20 minutes. Keep an eye on your Chocolate Gnome Cheesecakes so they don’t overbake. You’ll want the edges firm but the centers just slightly jiggly.
- Cool to room temperature, then pop them into the fridge for at least 2 hours to set fully. This chilling step is a must for the best texture.
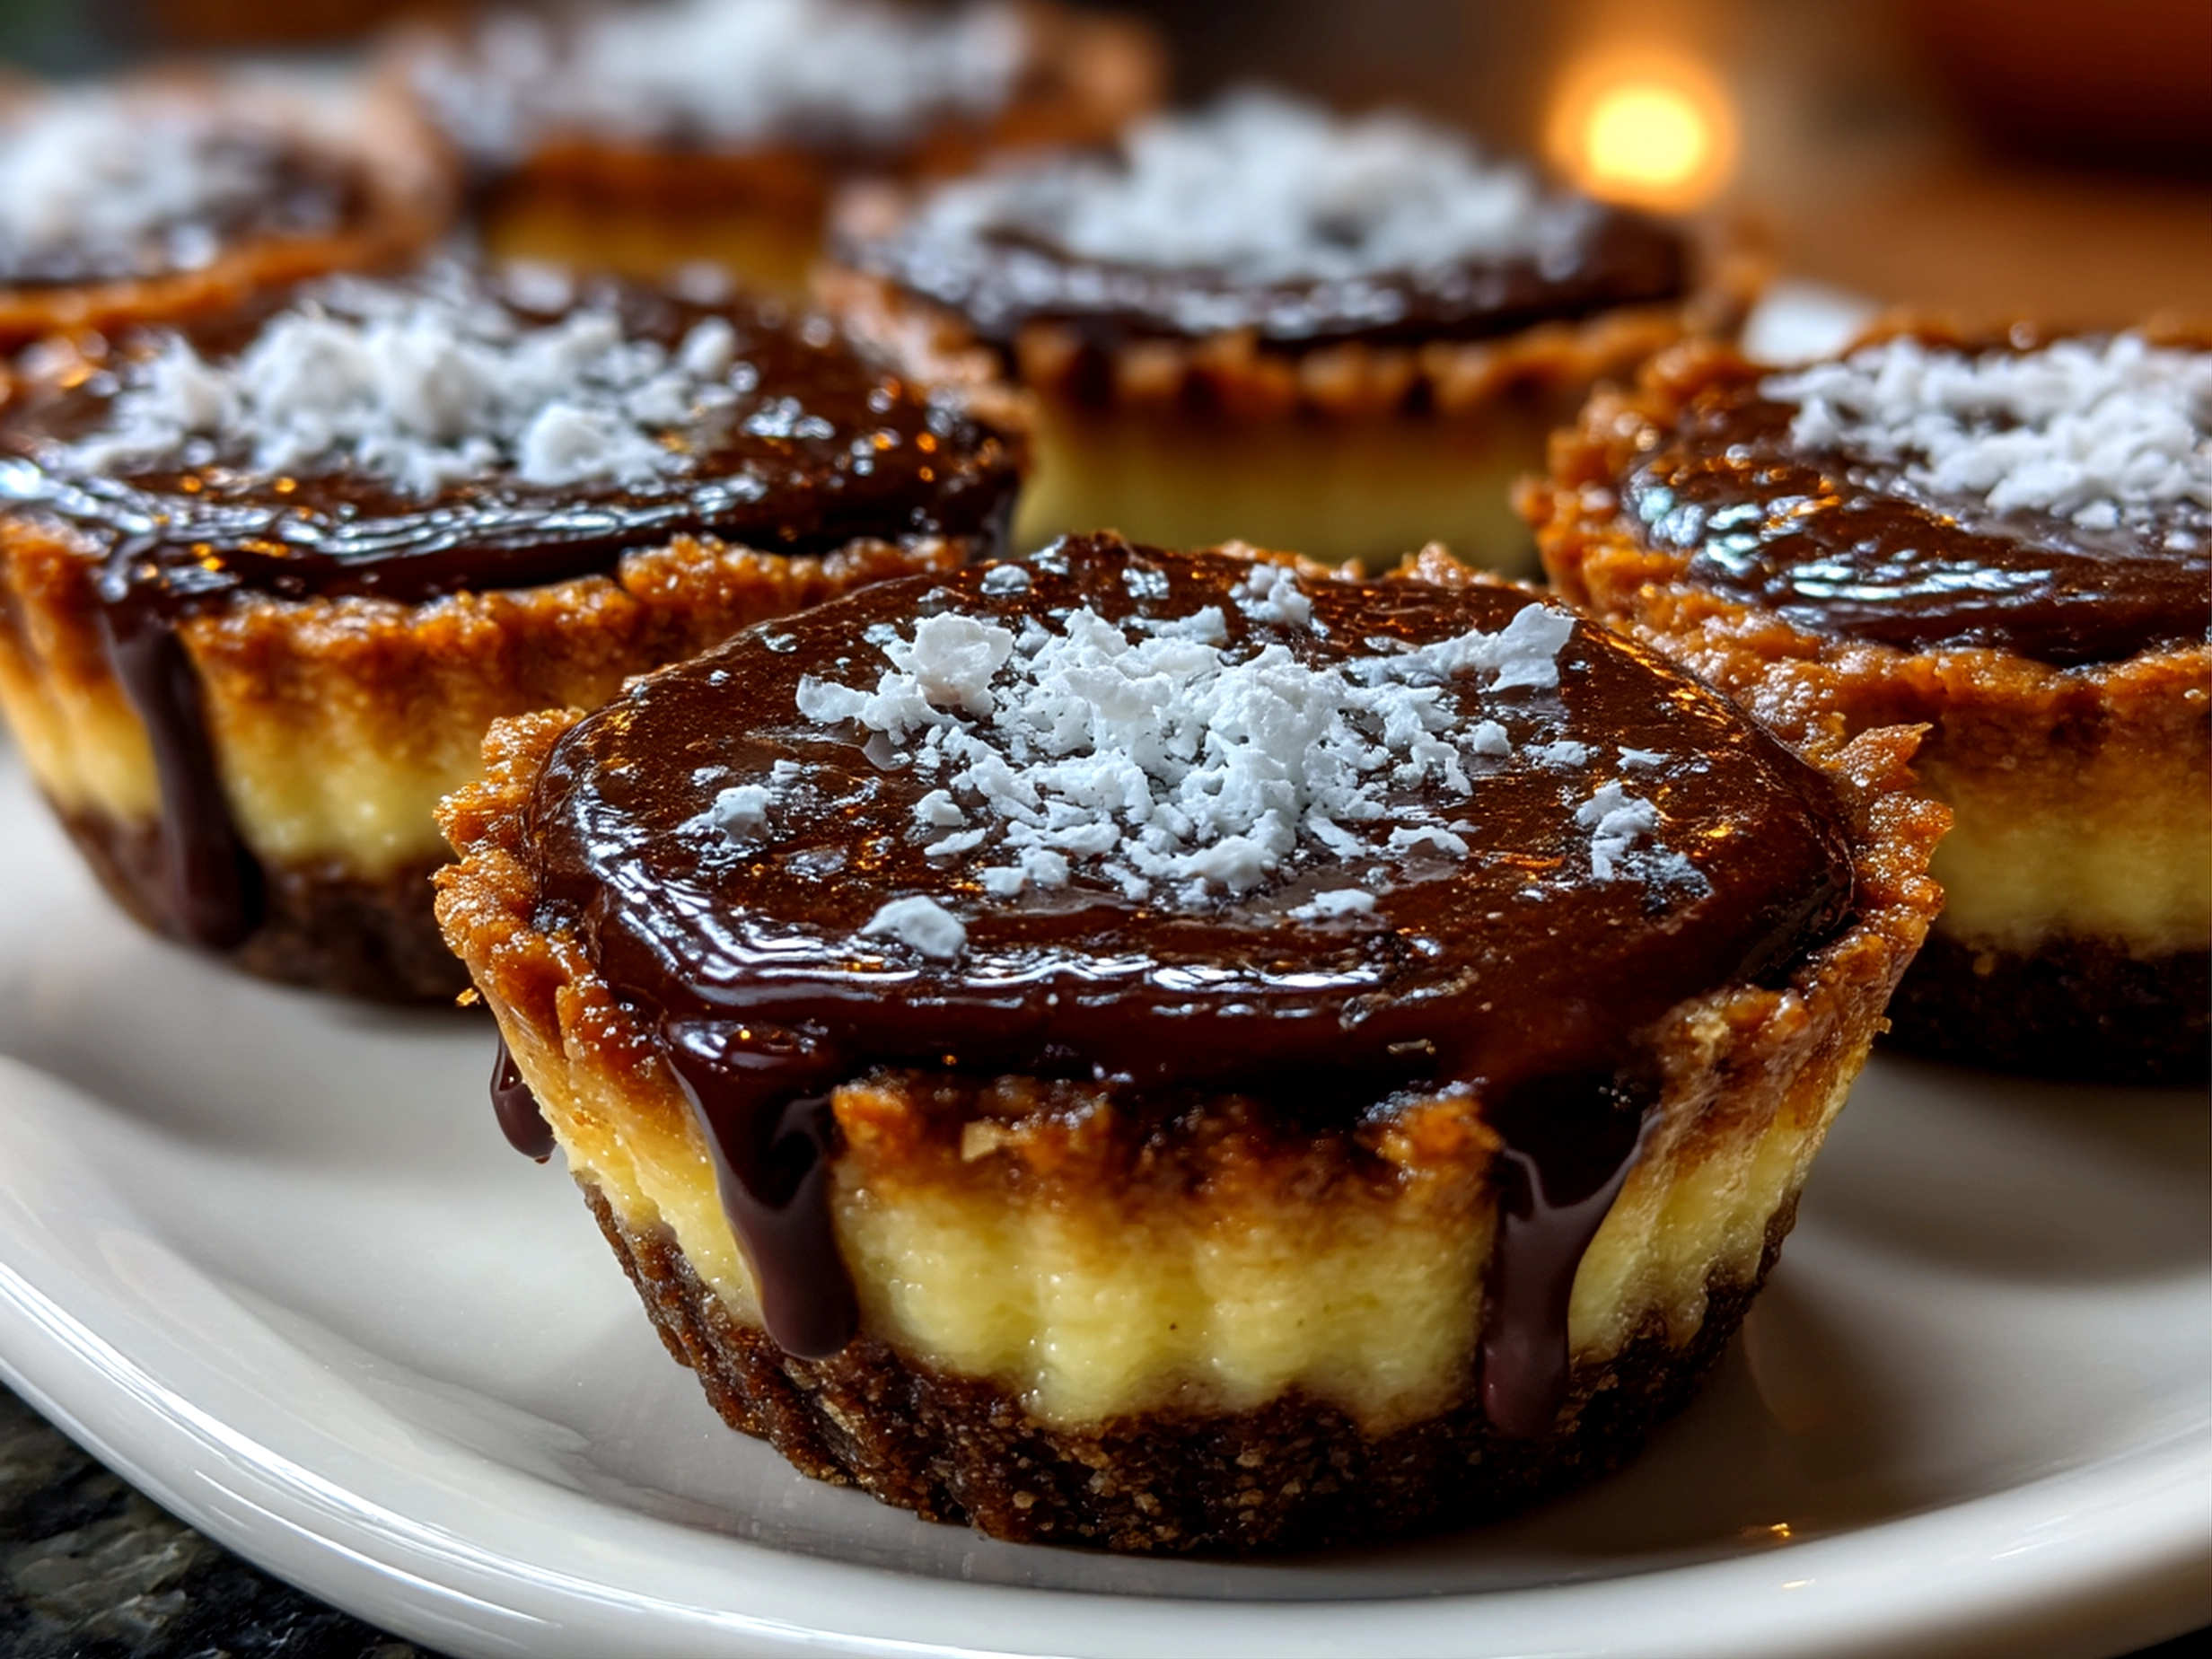
While they chill, you can prep any festive decorations or get your coffee ready. For a little fun, try a simple dusting of powdered sugar or mini edible eyes to really bring those gnome-shaped desserts to life.
If the cheesecake cracks or the surface looks uneven after baking, don’t stress—these chocolate dessert gnomes still taste amazing. A quick swirl of melted chocolate or a sprinkle of cocoa powder will do the trick for presentation.
Total time? From start to finish, these Chocolate Gnome Cheesecakes take about 1.5 hours including chilling. That’s well worth it for the smiles and flavors they deliver!
How to Serve & Savor It:
Nothing feels quite as cozy as serving these Chocolate Gnome Cheesecakes fresh from the fridge on a lazy afternoon or at a holiday gathering. I love layering them on a pretty platter with fresh berries and a drizzle of raspberry sauce for a burst of color and tang.
Because they’re mini chocolate cheesecakes, they’re a perfect finger food to pass around at any party. Plus, they’re utterly crowd-pleaser material—I’ve never met anyone who could resist these little chocolate dessert gnomes.
For a classic pairing, enjoy these Chocolate Gnome Cheesecakes with rich coffee or a bold red wine like a Merlot. The flavors complement each other beautifully, making it a great way to wind down or celebrate.
Leftovers? No problem! Get creative by crumbling them over ice cream for a quick sundae upgrade or blending into a milkshake for a whimsical treat. I’ve also experimented with topping them with whipped cream and chopped toasted nuts for extra texture.
Seasonally, I like adding a pinch of cinnamon and nutmeg to the batter in the fall, which takes these festive cheesecake treats into cozy territory. During the winter holidays, a sprinkle of edible glitter makes the gnome shapes extra enchanting.
For a little extra foodie fun, check out this charming Chocolate Gnome Cheesecakes inspiration video on Instagram or this detailed Christmas gnome and mint cheesecake recipe I spotted in a Facebook group. They’ll get your presentation ideas rolling!
Your Questions, Answered:
Friends often ask me all kinds of questions about Chocolate Gnome Cheesecakes, so I’m sharing my top answers here like we’re chatting in the kitchen.
Can I prep parts of this Chocolate Gnome Cheesecakes ahead of time?
Absolutely! You can crush the cookie crumbs and prepare the crusts a day in advance, then keep them in the fridge. The cheesecake batter is best made fresh, but if you’re in a pinch, it can be mixed the day before—just cover tightly.
What’s a good swap for cream cheese?
You can use Neufchatel cheese for a lighter option, or full-fat Greek yogurt for a tangier twist. The texture changes slightly, but still delicious.
Can I make this recipe for more or fewer people?
Totally! Just scale the ingredients up or down and adapt to your mold size or muffin pan. I love making a batch of 24 mini cheesecakes for big gatherings.
Any tips for nailing the gnome shapes?
Silicone molds are magic here, but if you don’t have them, muffin liners work great too. Letting the cheesecakes chill fully before unmolding helps preserve their cute shape.
Can I freeze Chocolate Gnome Cheesecakes?
Yes! Freeze them on a tray first, then store in an airtight container, up to 2 months. Thaw overnight in the fridge before serving.
What about adding flavors?
Play around! Peppermint extract makes a great festive twist. I’ve also tested adding orange zest to the batter for a subtle citrus note.
Where can I find more recipes like this? You’ll love checking out my Coconut Almond Chocolate Pudding or these Chocolate Mint Crinkles for more everyday awesome food inspired by chocolate. For community recipe swaps and festive twists, the Facebook group featuring Christmas gnome and mint cheesecake recipes is a treasure trove.
Final Foodie Thoughts:
There’s a special place in my foodie heart for Chocolate Gnome Cheesecakes. They bring together everything I love about baking: cute presentation, straightforward steps, and that feel-good moment when everyone digs in happily.
My Top Chocolate Gnome Cheesecakes Tips:
– Be patient chilling these beauties—it really sharpens the flavor and texture.
– Toast those cookie crumbs for added depth.
– Use a piping bag for neat filling and less mess.
I adore the classic chocolate version the most, but the orange-zest twist gets requested as often as the original. For a holiday spin, the peppermint extract version is a crowd favorite. If I’m feeling creative, adding a little espresso powder deepens the chocolate flavor with zero hassle.
This recipe welcomes your own adaptations—whether you want nut toppings or to experiment with different chocolates, they all work beautifully.
I genuinely hope you love making these Chocolate Gnome Cheesecakes as much as I do. They’re a joyful way to add a little whimsy to your dessert game and share smiles around the table.
Ready to make them your own? I can’t wait to hear about your chocolate dessert gnome creations! And if you want a little chocolate inspiration to keep that festive vibe going, check out my posts on Chocolate Date Bark and delicious Chocolate Mint Crinkles.
Let’s keep cooking and sharing the love, friends. Happy baking!
Chocolate Gnome Cheesecakes
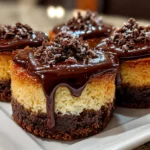
Delight in these whimsical Chocolate Gnome Cheesecakes featuring a rich chocolate crust and creamy cheesecake filling, perfect for magical dessert moments.
- Prep Time: 15 minutes
- Cook Time: 20 minutes
- Total Time: 4 hours 35 minutes
- Yield: 12 servings
- Category: Dessert
- Method: Baked
- Cuisine: American
Ingredients
- 1 cup chocolate cookie crumbs
- 3 tbsp unsalted butter, melted
- 16 oz cream cheese, softened
- 3/4 cup granulated sugar
- 2 large eggs
- 1 tsp vanilla extract
- 1/2 cup sour cream
- 1/2 cup semi-sweet chocolate chips, melted
- Whipped cream and edible decorations for garnish (optional)
Instructions
- Preheat oven to 325°F (160°C). Line a muffin tin with cupcake liners.
- Combine chocolate cookie crumbs and melted butter in a bowl; press mixture firmly into the bottom of each liner to form the crust.
- In a large bowl, beat cream cheese and sugar until smooth and creamy.
- Add eggs one at a time, mixing well after each addition.
- Mix in vanilla extract and sour cream until fully incorporated.
- Fold in melted chocolate chips gently until the batter is evenly chocolate.
- Pour the cheesecake batter over the crusts in the muffin tin, filling each about 3/4 full.
- Bake for 18-20 minutes or until centers are set but slightly jiggly.
- Remove from oven and cool to room temperature, then refrigerate for at least 4 hours or overnight.
- Before serving, garnish with whipped cream and edible decorations to resemble gnomes.
Notes
For an extra chocolate boost, drizzle melted chocolate on top before serving or add mini chocolate chips to the filling.